 If you’re planning on painting your own home, you’ve probably got some plans of action. You might be thinking, “What, me?” Well, if you’d rather do it all yourself, but still more power to you, go for it. After all, with all the resources and skills you could learn, your result might be just as great as someone who has done it before. So, how long would it take you to paint a whole house?
How long it takes to paint any home depends on what kind of a job you’re planning on doing, where you’re doing it, and the age and condition of the home itself. If you have older homes, you will generally be looking at taking on a larger, more involved job. For example, maybe you’ll need to scrape and repaint the entire room from top to bottom. If your home is more recent construction, you might be looking at simply stucco or laminates over existing walls. In either case, professional painters can do a number of things to make the job go faster and easier.
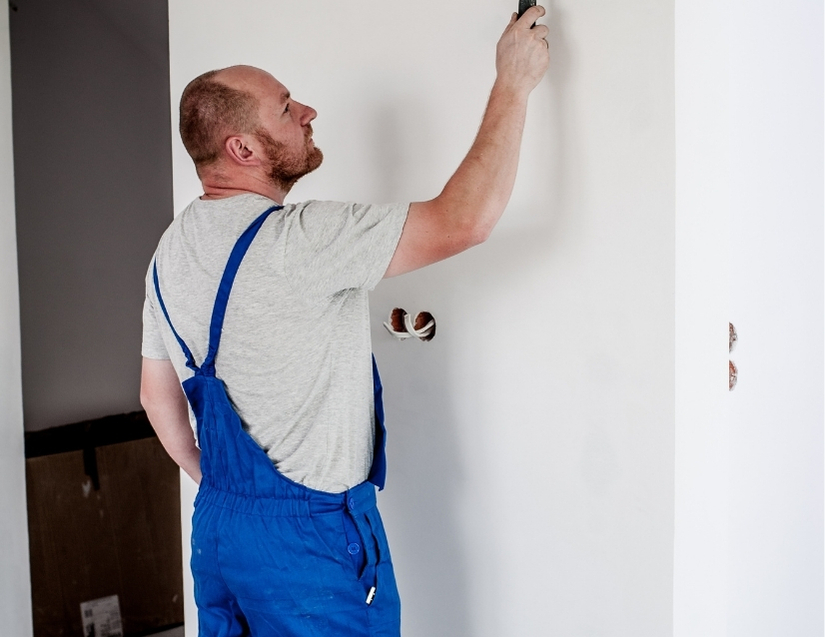
The time it takes a painter to finish a full house painting project will depend heavily on what type of materials were used in the construction of the house. If you’re painting an interior wall, such as your family room, living room, or even your master bedroom, it will be less time-consuming than painting the exterior. Exterior house painting involves painting the exterior of the home, including the walkways, yards, garages, doors and windows. This can be a difficult task for a novice, but a skilled painter can make the process go by much quicker. The reason is that the exteriors of the home will usually require staining, painting, repainting, or washing in order to get them ready for the final step of house painting. A good professional painter can also help seal any weather-resistant paint and apply a layer of exterior protection for the house’s exterior.
A good way to save yourself some money when painting a home exterior is to pre-paint the area first. Often, doing this saves the homeowner some money, because some prep work can be done by the DIY painting tips provided by many professionals. Preparing the exterior of a home for paint is almost always done before actual painting begins. The reason is that the prep work gives paint more time to cure and dry. This allows for a better finish and paint protection.
Some exterior paint jobs will require the use of a spray bottle with a brush attachment or a putty knife to remove the old paint, or to scrape it away. In order to prep the outside of a house for paint, homeowners should use a putty knife or some other tool to scrape off the old surface, including around window sills, door frames, and light fixtures. One way to keep the caulk from dripping or running is to dampen the putty knife with water before applying it. After applying the caulk, then homeowners should allow the caulk to dry, but not completely dry.
Another way to complete the preparation work of an exterior paint job is to rent a pressure washer or sander, rent a bucket with good suction, and set up a bucket and hook on a hose on a timer. These tools are already well-equipped with attachments for the job, including a paint sprayer or sander, a plastic sheeting to catch the drip, and a drop cloth to remove any excess paint. At this point, homeowners should check the weather to see how much protection is needed. Sometimes a little paint is sufficient for the exterior paint job, especially on painted surfaces like concrete, while other surfaces such as brick need a little more paint to finish the job.
Another step in the preparation process is the cleaning. In order to clean an exterior surface, homeowners can use a brush, rag, or foam pad to remove any dirt, dust, or debris. For the interior, a vacuum cleaner or floor buffer may work best. A good, thoroughly cleaned surface is one that looks clean even when no one is looking. For the best results, homeowners should always make sure to empty and refill a paint sprayer or sander’s chamber before using it again.
Once the surface has been cleaned and prepped, homeowners should move on to the priming process. In order to prime a wooden or aluminum surface, homeowners should either rent or buy a paint sprayer that is specifically primed. Priming the trim also helps give the exterior a uniform look. In order to prime the trim, homeowners should start by spraying a thin layer over the area and then working their way up to a full coat.